
Today I will mostly talk about the Flying the Flag project I finished a while ago. But first I will show you what I promised last week: How I've gotten faster at stitching! My current project, the Harebell Panel, came with a black/white chart. I made a copy of it (for my own use, so I don't ruin the original!) and this is the copy I use. I use a highlighter, and highlight the areas when I finish them. It is a lot easier to follow the chart, especially because I don't have any colours to guide me to where I am. Of course, this is not rocket science and have been used by so many before me, but I still want to give this method a shoutout. It is brilliant and I wish I had known about it from the beginning of my stitching!

Now onto todays subject: Framing my flag! I bought a LP frame from Tiger for 30 kr, as it is the perfect size for my flag. It has a cardboard back and a glass front. I decided right away to have the stitching exposed and use the glass as my "filler" behind the fabric.

I started off with finding my flag from where it had been hiding. As you can see it needs some ironing before I frame it! And as I've been working on it on and off for 1½ years I decided that it needs to be washed before I frame it as well.

No washing without testing if the colours will bleed! Especially when I've worked on it for so long. Would be a shame if all that work bled out! I did use DMC threads, so it should be fine, but better being on the safe side, you know?

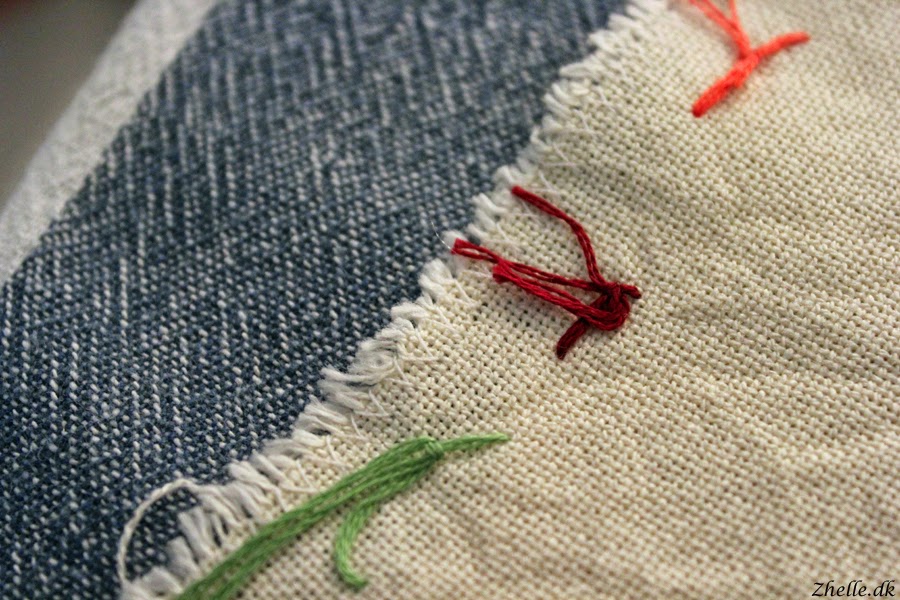
I tied a few threads of some of the colours on one of the corners of the fabric. If it bled I'd rather it bled on the corner I don't need anyway!

I used a detergent made for wool and fine washing, and I figured that if it is good enough for that, it is good enough for my embroidery!
I washed it and look! No bleeding! No marks on the fabric at all! Mission accomplished, I cut the threads off and started on the washing process.

I decided that a wash and a rinse would be enough, as I haven't spilled anything on it while stitching it. So in it went and got a proper wash, rinse and a squeeze to get as much water out of it as possible.

All clean and wrinkled! It definitely needed an iron, but it needed to dry a bit first.

And look! Still no colour bleed. Relief rushed through me at this point.

Now it was time to get it dry. I rolled it into a towel and squeezed as much as I could, and then I left it to dry.

Meanwhile I needed to prepare the glass. I didn't want the corners to snap the fabric, so I put some tape on all the corners to protect it. Not sure how much it is going to help, but I believe it does!

After getting a glass splinter in my finger I decided to tape the whole edge! I don't particularly want any glass splinters in my fabric. All taped up, and now quite happy with it!

Now when the embroidery was damp, not wet, it was time for an iron! I ironed it face down on top of a tea towel, so I wouldn't flatten the stitches. Not sure they would be anyway, but it was also to let the tea towel soak up some of the moisture from the fabric instead of letting my ironing board do that.

All done! I hung it up in a trouser hanger to let it finish drying. After I ironed it again to get the best result possible.

While it was drying I found the middle of my glass panel, but a piece of tape on it, and marked it. This way I could place my embroidery straight in the middle, because I of course could see the back through the glass.

All dry and ironed now! Put it on a clean, hard surface (my table) to prepare it for framing.

I placed the glass on the back of the embroidery and aligned the middle of the embroidery with my little mark.

I folded the fabric over so it hugged the glass, and then I got lazy and I was tired (and a lot of other excuses). I placed it in the frame like that and put the cardboard back on top, counting on it too keep it fastened, as I am not gonna use the frame, I'm just gonna look at it.

Lo and behold! My framed embroidery! Now it just needs to be hung on the wall! Am super proud of the finished result!

What finishes do you use on your embroidery?
x Michelle x
No comments:
Post a Comment